I always have tons of ideas running through my head – just not always enough time in the day to execute them all!!! I’m sure most of my creative friends are in the same place – always more ideas than time!
But, I have to say that being a regular guest on Hometalk TV has pushed me to get a few of these things accomplished! Nothing like a deadline hanging over your head and having to go LIVE showing thousands of people how to do something……if something goes wrong, you have to “wing” it!!! LOL
Well, my last Hometalk TV Live was really fun and I finally finished something that I had been wanting to do around my studio! Still way too many white walls and plain floors around here……:(
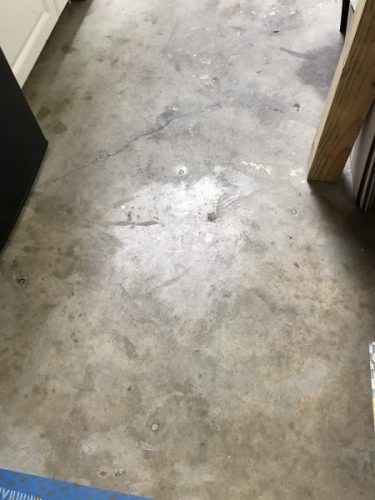
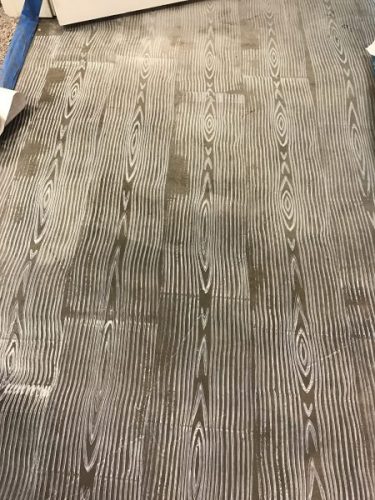
I had been wanting to use one of my Rollers on the concrete floor and decided to section off an area and create a Faux Wood Grain White Washed floor!!!
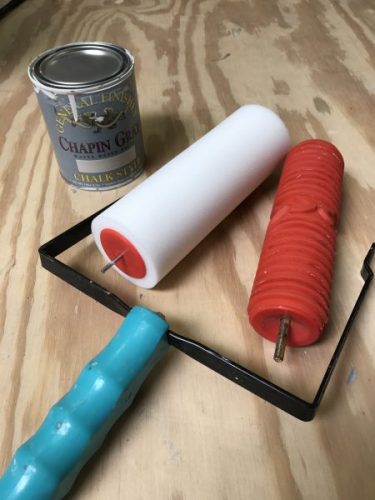
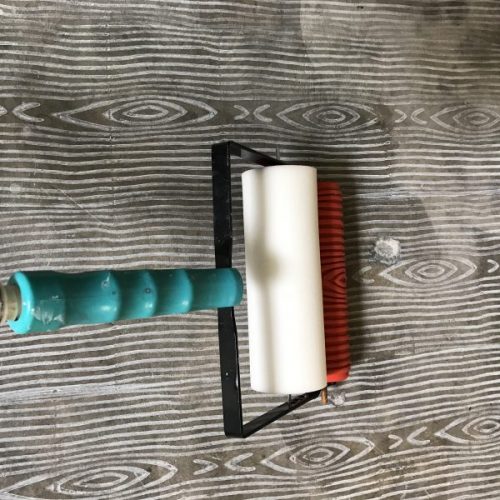
There is not much needed for this project – just the Stamping Roller Handle Applicator (which comes with the foam applicator), Wood Grain Roller and Converter Bar. Then you can pick the paint type and color you would like to work with. I used the General Finishes Chapin Gray Chalk Style paint – I wanted a matter finish and was needing something that would dry fast!
OH – don’t forget we do need to prepare the surface a little……..I swept the floor, got down on my hands and knees and cleaned with wet rags (boy was it dirty) – did this a couple of times!!! Then I mixed a solution of 50/50 water and vinegar to “etch” the surface – this helps open the pours of the concrete and will allow the paint to adhere better. Then I let the floor dry for a couple of days.
The next thing is to load the Roller and my best way to show you is to have you watch my video that walks you through the process of loading the roller:
This was fun and easy – it only took about 10 minutes to roll the entire area (10’x6′) and then about 30 minutes to hand paint some of the detail areas where the roller couldn’t fit.
I just used a Liner Brush and a little watered down paint to fill in the areas along the wall edges where the roller didn’t get close enough too or if the pattern skipped a little (but I personally love the imperfections that were left behind)!!!
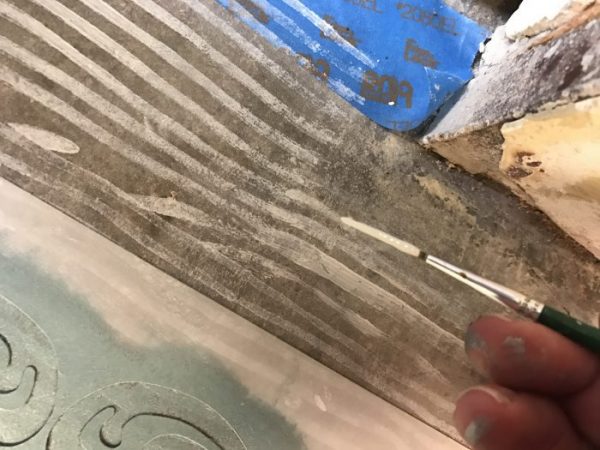
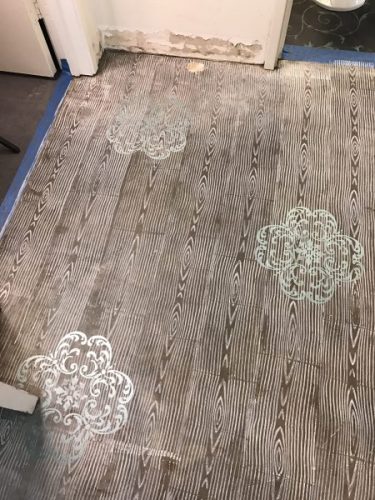
Well – if you know me, I just couldn’t leave it as just a wood grained floor! I had to pull out a stencil and create a little more Charm!!!
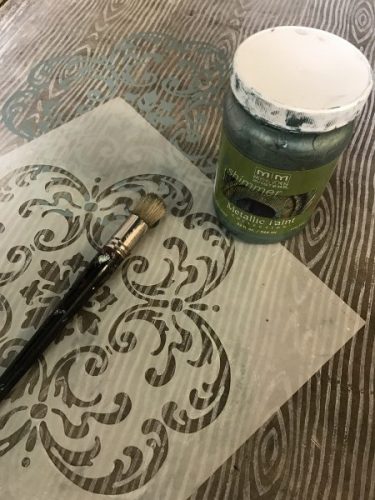
I used one of my all time FAVS – Hampton Medallion stencil with some Modern Masters Metallic paint in Teal!
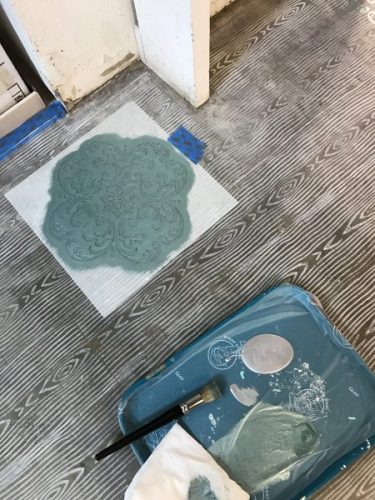
I LOVE my new floor – so much Charm has been added to this area!!!
One last thing – need to protect all this beautiful floor! I plan to use BM Stays Clear and put on at least three coats……we get all lot of traffic through this area!
Let the Fun of my Decorative Rollers enhance your projects – walls, floors, furniture, cabinetry – unlimited possibilities! Check out all the fabulous patterns available on my website for Roller Heaven!!!
Here is the complete application of the process while on Hometalk TV Live!
Watch the final details and stenciling!
Blessings,
Jenn


