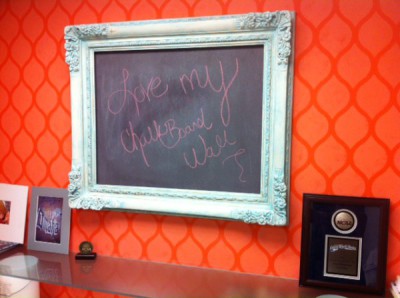
I have only been in my new studio space for little over a year (4th studio space in 25 years) – so it’s still a work in progress for me! Time doesn’t always permit for me to complete a painting projects for myself. But a few months back, I decided that I needed to clean up my office and one thing lead to another…….LOL While I was cleaning up the floor area behind my desk – I decided that “NOW” was a great time to paint that wall!

I had this idea running through my head for awhile and had wanted to create a Chalk Board Wall using the American Paint Company’s Chalk/Clay/Mineral based paints. So, with the way things get done around here – I went into my studio and found a color spoke to me at that moment – CORAL REEF🙂 and also Wild Horse’s for the center “framed Chalk Board”.
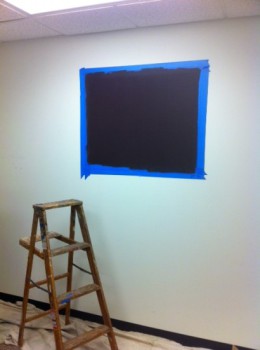
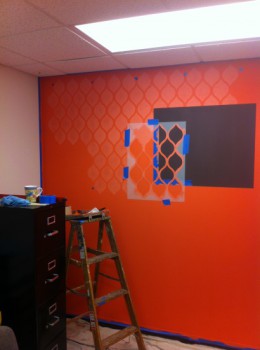
I grab some tape, a pencil and the frame I wanted to use. Marked off the area for the Chalk Board and painted Wild Horses – I applied three coats, knowing I would season this area and use it as a Chalk Board. While I was waiting for that to dry, I taped off the rest of the wall so I could paint the Coral Reef color. I love painting with the APC paints – I had great coverage in one coat with the Coral Reef paint.
Now – I just couldn’t stop at that point 🙂 I went digging through my stencil designs and decided to pull out one of my newest patterns – Contempo Modern and stencil an all-over-repeat design. I wanted a tone-on-tone look, so I took the APC Coral Reef and added some Home Plate to lighten it up – maybe around a 75/25 mixture for the stencil color. The stencil pattern has registration marks to that you can work from right to left and top to bottom – so I just kept stenciling in every direction until I finished out the entire wall.
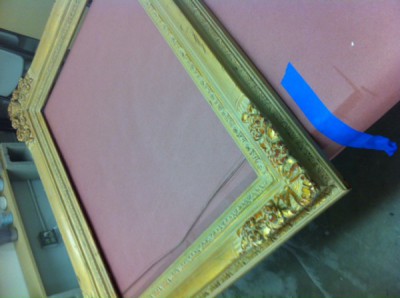
Then came the Frame project – this was a frame that I found at a wonderful little shop I like to stop by once in a while and just see what wonderful little finds she has hidden a away for me!!! I like creating contrast for interest – so I went looking through my colors and couldn’t help but pick one of my favorite combinations – Surfboad and Home Plate.
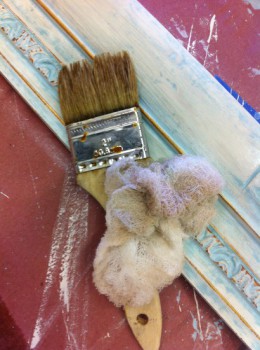
I started out by painting on two coats of the Home Plate – allowing each layer to dry in between and then painted on the Surfboard in a “hap-hazard” fashion (very messy looking). Allowed this to dry and then came in with my “wet-blending technique” and blended the bad paint job of the Surfboard into the Home Plate – using wet cheesecloth. I will even spray water onto the surface and blend the colors together. As I was wet blending, I happened to expose some of the original frame color for some highlighting.
Once everything was dry – I wiped/brushed on a mixture of the Clear and Dark Waxes to create a medium tone wax finish.
Everyone that walks into my office loves the wall – they all say it makes them smile. I’m not sure if I’m done with this project yet or not – time will tell if I execute the rest of my ideas floating in my head 🙂
Chalk it up Peeps!!!


