Creating your own statement signs is a great way to experiment with different texture techniques and try out different roller designs. Inexpensive wood planks are used so the imperfections can be highlighted with paint to create a rustic, distressed feel.
I’ve used a color palette in shades of blue to give just a little bit of depth to the background while allowing the words I’ve stenciled on top to pop. When using chalk paint, allow each layer to dry thoroughly before moving on to the next color, so this project will take a couple hours to complete.
You will need:
Boards, pine is inexpensive and has texture
Chalk Paints, I recommend DIY Paint by Debi’s Design Diary
Art Wash Brushes
Domed Brushes
Spray Bottle of Water
Cheesecloth
Foam plate or palette
Paper Towels
Tray
Glad Press n Seal
Base Coat:
 Cover the edges and front of your board in a single color. I like using Art Wash brushes for this because they pull and push the paint easily, allowing the finish to come together smoothly, even over the uneven surface of the wood. Allow this coat of paint to dry. The two base colors I have chosen are Hey Sailor and Mermaid Tail.
Dry Brushing:
This technique pulls out the texture and imperfections of your board and really gives depth to your finished piece. Dry brushing is best done with a domed brush or any stiff bristle brush. These brushes have stiffer bristles in a flat domed shape. They can stand a bit of pressure and won’t lose hair in the process. Brushes that are too soft won’t move the paint around well, you just want it to grab on to bits of the surface.
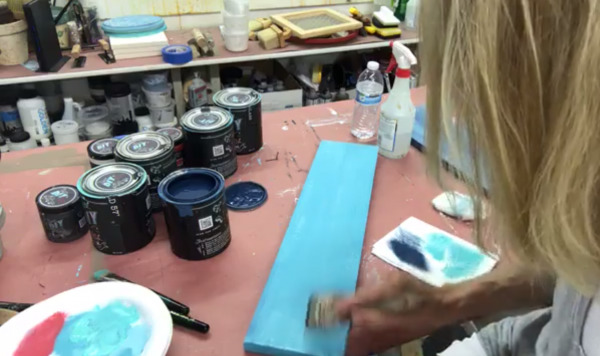 Start by dipping your brush in the paint and then swirl the paint on to a palette or foam plate. Really work it in. Then rub the brush on a paper towel. You want to make sure it’s dry. Now you can start working the paint over the surface of your piece. Dry brushing is just meant to “highlight” the surface and create depth/texture. I’ve used a combination of three colors on top of the background during this dry brushing stage. I chose colors in the blue family, but also a warm red, which when mixed with the background color creates a nice purple tone.
Keep your brush dry. The drier the brush, the more control you will have over the color. As each layer of paint dries, the texture will stand out more and you can decide if you want to keep going.
TIP: Try taking a picture of your work and evaluating the photo. You’ll get a different view that can help you decide to keep working or move on to the next step!
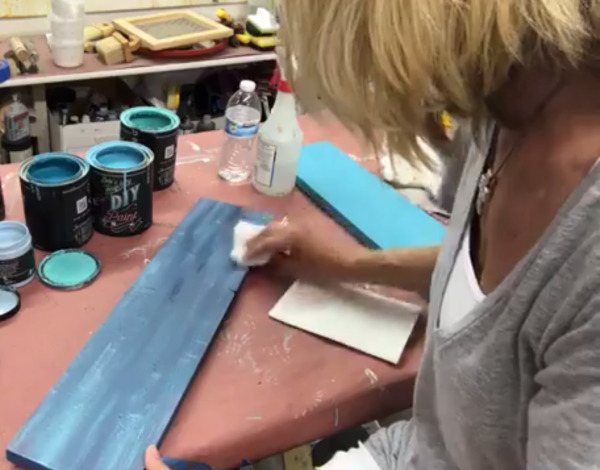
Once you have worked in your mix of colors, wet a piece of cheesecloth with a spray bottle of water and rub it lightly over your piece to blend the colors. Any areas you aren’t happy with can be rubbed out in this same way. Let your dry brushed layer dry.
Adding design with a stamping roller:
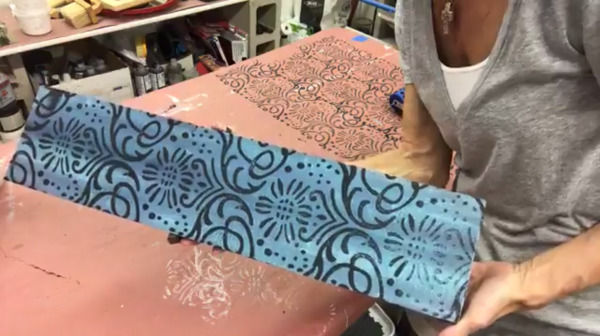
Stamping rollers create a continuous design that can really add interest to your project. Our stamping rollers are 7” wide which covers a standard plank of wood with a bit of room to spare, making this a perfect first project to get comfortable with the stamping roller.
I like to cover a cafeteria tray with Press n Seal wrap and use this to load the foam part of the roller. It makes clean up really easy! Pour a bit of paint onto your tray and spread it out with a brush. Before loading the foam part of your roller, give the roller a quick spritz of water from your spray bottle. Not enough to soak it, but this bit of moisture will help the roller pick up the paint.
TIP: If your roller has spots that didn’t get completely loaded, use a brush to go over those areas of the foam
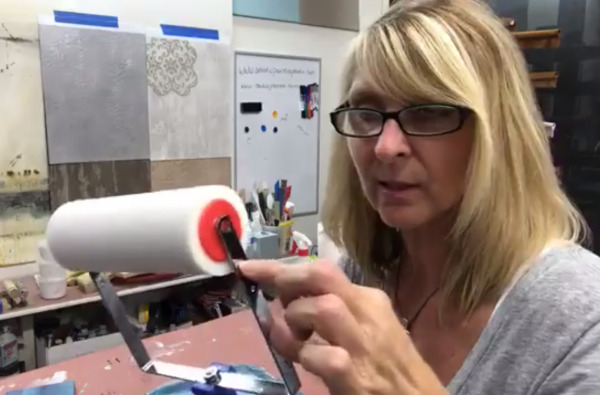 I keep the foam roller in the outermost holes while loading, moving it back when I’m ready to add the pattern roller. When your foam roller is ready to go, move it to the inner set of holes so your pattern stamp can be placed on the outside. Give the pattern roller a few rolls on a clean sheet of paper to transfer the paint to the design. Now you’re ready to carefully roll your design across the plank. I chose colors that create a tone-on-tone feel for the background of my signs. Nothing with too much contrast so it doesn’t take away from the words which I will stencil on later.
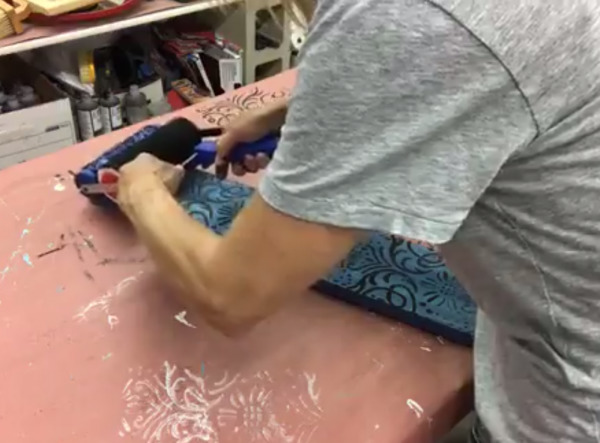
Let this layer of paint dry and then it will be ready to stencil!
Decorative Signs Project Series:
1. Base Coats
2. Adding Texture
3. Stenciling Techniques


