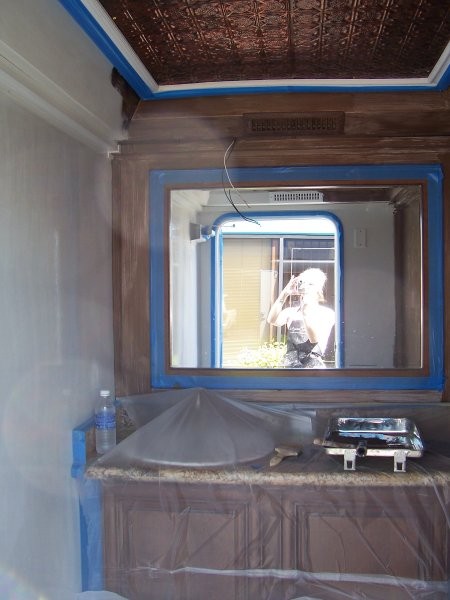
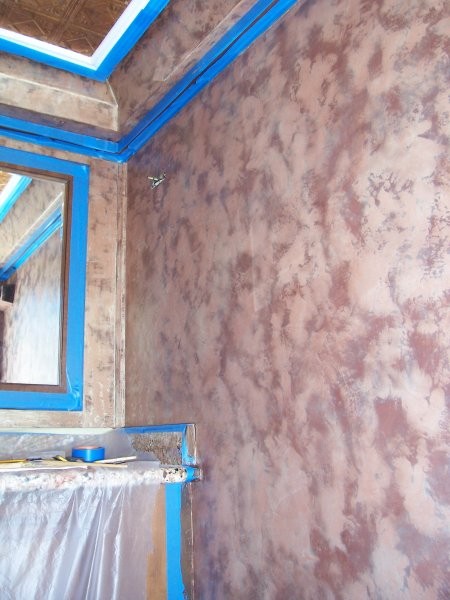
We moved to our new location December of 2006 – the building that we took over had a great layout, just needed an artistic touch. But, even before we could add that artistic touch – we first installed our RSCrete floor through most of the building – entry, hall and classroom. After the floor was installed, we could at least move in and work on everything else later. My husband (Jim) and I floated all the walls and ceilings throughout all rooms – we went through a few gallons of TexturFil® to say the least. But, at least when I found time and inspiration – my surface was prepped and I could just start working. We also had crown molding and baseboards installed throughout all rooms – just another surface to enhance!!!
I haven’t run out of surface area yet – so, here is one of the finishes that was installed in the entry of the studio. Due to the fact that I can’t figure out how to add pictures where I want them in the post – you will have to view the”gallery” at the top of this post.
The first picture is the completed “Royal Wedding” finishing, with the second picture a close-up of the finish. I have also included pictures of the process – so that you could better understand the process of embossing a stencil design in plaster.
I first base coated the wall with Faux Metal® this is a product by Faux Effects™ – the Faux Metal was troweled onto the surface, which provided a rich gold undertone for the finish. Had to allow this to dry for several days – that is one thing I have discovered about the Faux Metals® – they take a couple of days to dry – even more in the winter months.
Once the base was dry I then began to layout the all-over-repeat stencil design that I was going to use. I pre-marked all the registration marks onto the surface – I use the blue tape (2080) and mark the registration holes onto the blue tape – this way there are no marks to remove later. I made sure that the design was staying level, by using a level as I marked all the registration holes. Pre-registering is necessary when creating with any material that will not dry immediately – this will allow you to jump from one section to another and allow the previous embossed areas to dry. (With the way this stencil is designed and most stencils for an all-over-repeat – the stencil will over-lap wet work – so it is necessary to jump around the wall or room to allow everything to dry).
With several of the photos, you can see the progress of the project. The wall wasn’t very large, so I was only able to create several repeats at a time…….clean the stencil…….and wait a couple of hours. The product that was used to emboss was – LusterStone® another product by Faux Effects® – color Mandarin Red. The time frame was several days to complete the wall – mostly due to the fact that it was at my studio and I kept getting distracted with other projects!
The final step was using RS WaterWax® – yes, another Faux Effects® product!!! This is one of the finishes that I teach in my Designer Walls III – RSSeries workshop. You can check out more samples of RS Series finishes @ www.artisticpaintingstudio.com – just click on classes.
Just a couple of notes on embossing with a stencil – the one used in this finish is my design (one of my newest under – Black & White Collection). All of these stencils are single overlay and cut in 10mil mylar – which I believe is the best to use for embossing. I always use spray adhesive to hold all parts of the design in place (when troweling material over them – it’s easy to lift the stencil and have bleed-under) – pre-mark all registration holes so that you can move around the area without waiting for product to dry. I apply the material usually with a trowel – don’t put too much onto the trowel and only on the edge you are using (I’m a right handed person – so I load the right side of the trowel) – trowel over the open areas of the design and leaving material in the stencil openings. I don’t build up higher then the thickness of the stencil – it doesn’t take much to create this illusion. Scrap off excess material (with a light touch – not too much pressure) and then remove the stencil pulling straight up from the surface….if you did get a little bleed-under of material, Q-tips work well for cleanup – also, make sure to clean off the back of the stencil before repositioning if you did get bleed-under. You will find that you will need to clean the stencil after every 2 to 3 repeats (I like to have at least two or three copies of the same design ready to use – this keeps the embossing going and then clean everything and start all over). For smaller stencils or small openings – you can use a spatula or styrene card to apply material over the stencil.


