Free shipping on orders over $100! **After discounts have been applied & Continental US only

Decorative Painting

Black is beautiful in furniture and cabinetry finishing!

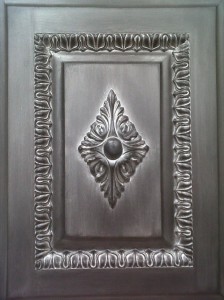
Black Shimmer Cabinet Finish

I have been painting in the decorative finishing world for about 25 years now and one of my favorite surfaces is furniture and cabinetry. Furniture can take on a personality and it’s so much fun to start a piece and see where it goes. NO, I never have a complete plan when starting a project – if I waited for that to happen, I would never start anything!
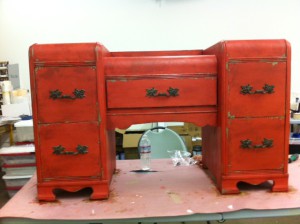
My "chippy" finish
My “chippy” finish

I love working on my clients projects – shown above – this project included the round mirror, desk and chair. The only direction she provided was the color of red to match and she liked a distressed/chipped look. What fun for me – I love painting something prefect and then destroying it to make it look old and worn. Here is a picture of the finished set.

Project for Debbie
Project for Debbie

So this Blog is suppose to be about Black furniture and cabinetry – okay let’s get back on track!!! For the past five years or so – Black has been my main color for cabinetry – to me Black is the new neutral.
One of my favorite projects was a friends kitchen – the transformation was just amazing and even with a ton of cabinets – my Tuscan Nights finish looks Fabulous and didn’t make her kitchen look a bit smaller – actually the finished kitchen looked bigger! Here are before and after pictures.
[
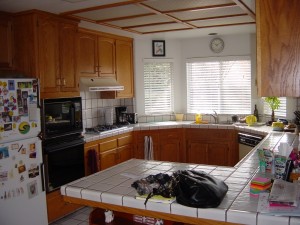
Before picture of Kitchen
After picture Kitchen

Working with another one of my clients – this house being very contemporary – most cabinetry was finished with Black or Metallic Silver.
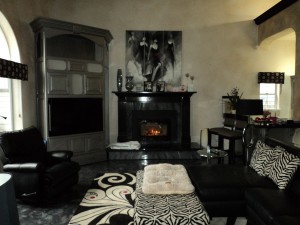
Entertainment Center - Fireplace - Bar cabinetry
Entertainment Center – Fireplace – Bar cabinetry

Looing at this picture – I even did the floor in a multi-layered Black/Silver concrete finish.
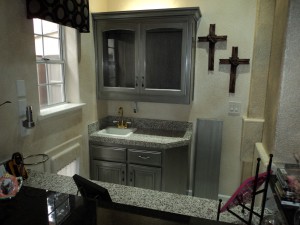
Bar Cabinets - Metallic Silver/Black finish
Bar Cabinets – Metallic Silver/Black finish

I love the dramatic appearance of a Black finish and it has been one of the most popular finishes! I think Black can go anywhere – create a focal point or have a conversation piece.
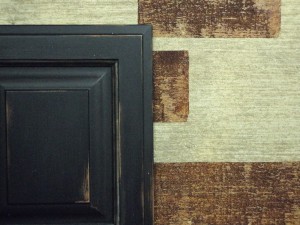
Tuscan Nights Finish

Black cabinetry is a staple for me and most of my students have installed the Tuscan finish at least once – I continue to teach many different versions of the Tuscan Nights along with many wonderful finishes that sell – taking you from the basics of preparation to high-end furniture finishes.
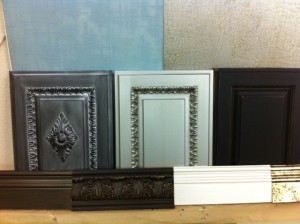
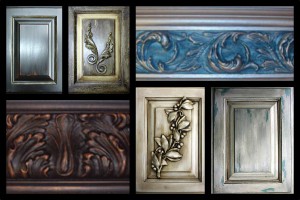
Cabinetry/Furniture workshop samples

Cabinetry/Furniture workshop

Get out your paint brush or sprayer and paint something Black!!! Check out my current Cabinetry/Furniture Workshop @ https://shop.artisticpaintingstudio.com/collections/learn/

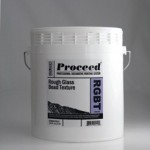
The “white goop” in my bucket!

Proceed - Professional Decorative Painting System

I have been in the decorative painting industry for 25 years and I still love what I do – each and every day!!! But, I will have to say – that I have not been this excited in years about the “white goop” in the bucket – thanks to Proceed by Golden.  I made some changes in the products I use over this past year and found a couple of products lines that I just totally in love with.

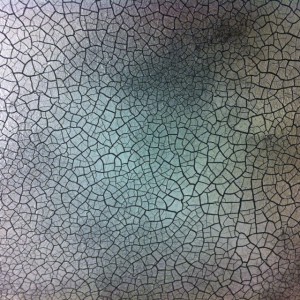
Proceed® Cracking Textures

Proceed by Golden was created by artist for artist – and the possibilities are endless!  The more I play with the materials, the more possibilities I keep coming up with – I have at least 5 to 10 samples boards hanging up at all times making new creations with this stuff.  Every product they have can be mixed with another product to create something different and believe me, I’m creating!

bella florish3

class19Another point that totally impresses me is the amount of information that they have provided to the artist.  I really try to be available to my customers at all times – but for those that never sleep, you can go to www.proceedsystem.com at any hour of the day and find an enormous amount of information.  (Sorry but I usually don’t answer my phone between 10pm and 6am)  LOL

The Proceed web site has everything you could ever imagine and beyond – coverage calculator – recipe builder – product crossover chart – product information – finishes and much much more!  You can search each product and find out everything you could just about ever need to know.  The more time I spend on the web site the more I learn myself 🙂

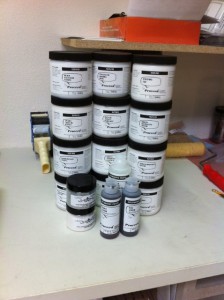
I also love the fact that they have packaged all the materials in a sample size container – price range is from $8.79 to $14.98 to get 16 oz of material to play with.  Enough to create a sample board to show a client before buying a full gallon of something your not sure you will need.

proceedsample

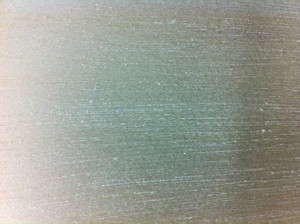
My favorite product at this time is Smooth Transparent Glazing Gel (STGG) – I personally think I may need some intervention soon, I can’t get enough of this material.  Here is one of my creations – Crystal Ice:  I use the STGG mixed with Glitter (one or more colors) and create beautiful Stria’s using several different tools.

crystal ice

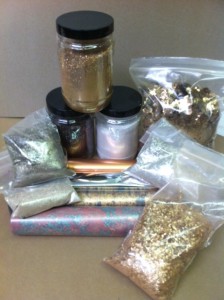
Just start to imagine the many possibilities that you can create with just STGG – It is a clear gel medium that is glossy – you can mix anything into this medium:  Mica Powders, Mica Flakes, Glitter, Paint, Colorant, glass beads, etc……Just to name a few.glitter2

I have every product in stock – 8 different Mica Flakes – 6 different Glitter colors – many Foils and much more – www.artisticpaintingstudio.com or call the studio @ 714-386-3243!

Studio Floor Project

My new Studio located in Huntington Beach, California is starting to come together.

First things first – for some crazy reason I decided I needed a unique floor for the showroom (even at age 48 – I can still get down there, it just hurts more!)  The owners of my building were nice enough to humor me in removing the old carpet, glue, etc and have the concrete floor ready for my creative endeavors!!!

My clean concrete floor

Now it was time for ME to get to work on this project – I primed the floor with Modern Masters Zero VOC Basecoat in Black, two coats were applied (I just rolled this onto the concrete).  Once the MM Basecoat was dry, I tinted some RSCrete that I had left over – using Black and Brown to create a custom Espresso colored floor.  I troweled on two layers of the RSCrete to create the Espresso floor (you could just use a paint that is made for concrete) – the troweling was a lot of work and my age was sure showing!!!

Base color applied
Base color applied

With the concrete overlay complete, it was now ready for some decorative painting – I picked my stencil design – APS525 Verdalee Swirls and I wanted a fun color to go with the Espresso floor.  I decided to use the American Paint Company’s Chalk paint and made a custom color – 50/50 mix of Surfboard and Beach Glass and off to work I went!

Stenciling begins :)
Stenciling begins 🙂

At this point I really thought the stenciling would be easier than the troweingl of the concrete material – BUT I was wrong!!!  The stenciling itself was easy, it was the amount of time I spent on the ground – kneeling, squating, sitting, etc – no position was comfortable after a little while!!!

Almost done stenciling

I will have to say that this is my most favorite floor I have ever created – the colors are wonderful together and I love this design!!!  Once all the stenciling was completed, I top coated the floor with a material that I also tinted with a little Umber to age the stenciling (yes – I aged the stenciling – LOL).  I applied three coats of the top coat and will be protecting it with a final layer of Metropolis Epoxy Waterbased clear coat!!!

The complete Floor!
The complete Floor!

I did say when I was done – this would be my last floor!!!  Two weeks later, I receive a call for a floor project – bidding the job next week!  LOL

Artistic Painting Studio – 15102 Bolsa Chica, Unit E, Huntington Beach, CA  92649 * 714-386-3243  *  Studio Hours:  Monday – Friday 9am – 5pm


Complete Make-Over – Moffett Home

Sometimes you get the best projects that fall into your lap and this was one of those projects. One of my girlfriends had been talking about updating her home for a long time and finally said she was ready. She asked me if I would be willing to take on the whole job – acting as her coordinator (for lack of better word). Of course, my answer was yes……because NO is not in my vocalbulary!!!

Before picture of Kitchen

I decided that I wanted to start this project with the materials that would not be changed out anytime soon – so, we went shopping for tile, granite and carpet. What fun it is to spend someone else’s money…..woohoo! Debbie was so easy to work with – not only are we friends, but she makes decisions and sticks with them……..and she lisented to my imput and suggestions. This project was on it’s way to a great start – now it was my job to figure out the progress of the work and not distrube Debbie’s life too bad. With only having two bathrooms in the house – we could only gut one at a time……gotta have one functioning bathroom at all times!

After picture Kitchen

With the decision to start with the remodeling in the masterbath room I finished helping Debbie pick out the additional items that were need for this project. Tile, granite, sinks, toilet, faucets, etc…….then it came to the design of the tile. I shared my ideas with Debbie and the tile contractor and we were on are way. As the masterbath room was being gutted, I started the painting in the Greatroom, office, entry and hallway. Debbie choose a color that would go throughout the home – once this was picked and painting began – I started working on samples for the cabinets and faux finishing.

Before picture – master bathroom

I love it when a client goes for a finish that is not the typical Umber glaze over Off-White paint……..and Debbie went for the dramatic!!! This is my Tuscan Nights finish that I just love and I painted all the cabinets in her house with the same finish – Kitchen, Laundry room, guest bathroom and master bathroom! I also decided for her that we needed to create a faux finish in the master bathroom and the Kitchen – both rooms deserved a little something special.

Once the master bathroom project was complete and Debbie could move back into her own bathroom – we started gutting the kitchen and guest bathroom at the same time. I was really trying to not tear up too much of the house at once, but the Greatroom, office, entry and hallway was all painted and the new carpet was installed at this point.

After picture – master bathroom

Debbie moved a make-shift kitchen to the office area and everyone moved into the master bathroom with her – and we were off working on the rest of the house. Again, spending someone else’s money is just too much fun. I assisted Debbie in picking out all the new appliances for the kitchen, hardware for all the cabinets, light fixtures, mirrors, towel bars, even down to the new towels for the bathrooms!

Debbie was so thrilled with all the transformation to her home that she continued to go shopping – all new furniture for the Great room, new dining room table/chairs and even new office furniture. This house looks amazing – great client/friend to work with and she was willing to go the extra mile and update furnishings too! Spectacular new home!!!

This project was featured in the last issue of Faux Effects World Magazine.


Artistic Cabinetry Workshop

Cabinetry and furniture are two of my favorite things to do……you can give an old piece of furniture new life and personality with just a little time and paint.  Completely change the look of your home with bringing new life to you kitchen cabinets or bathroom vanities – the possibilities are endless and it’s just your time and a little product that can make this happen.

The Artistic Cabinetry Workshop coming up in November will provide you with the knowledge and ability to re-create your home cabinets and furniture.  The workshop will cover everything from the preparation of the surface (new or old), what primers to use and many different techniques using Faux Effects Silver & Gold label products.

Some of the finishes being instructed in this class have never been taught before – new fresh ideas!   You will learn everything from a wonderful basic Honey glaze to high-end furniture finishes – each student will complete 10 cabinet door samples as well as 10 molding samples.

Artistic Designer Cabinetry and Furniture Finishes – November 12th – 16th – a full week course being held at my Studio in Fresno, CA  – for samples and complete details to register – www.artisticpaintingstudio.com

If you have any questions regarding this class – please feel free to contact me at 559-449-7711 – I would be happy to answer your questions.

Peacock Feathers

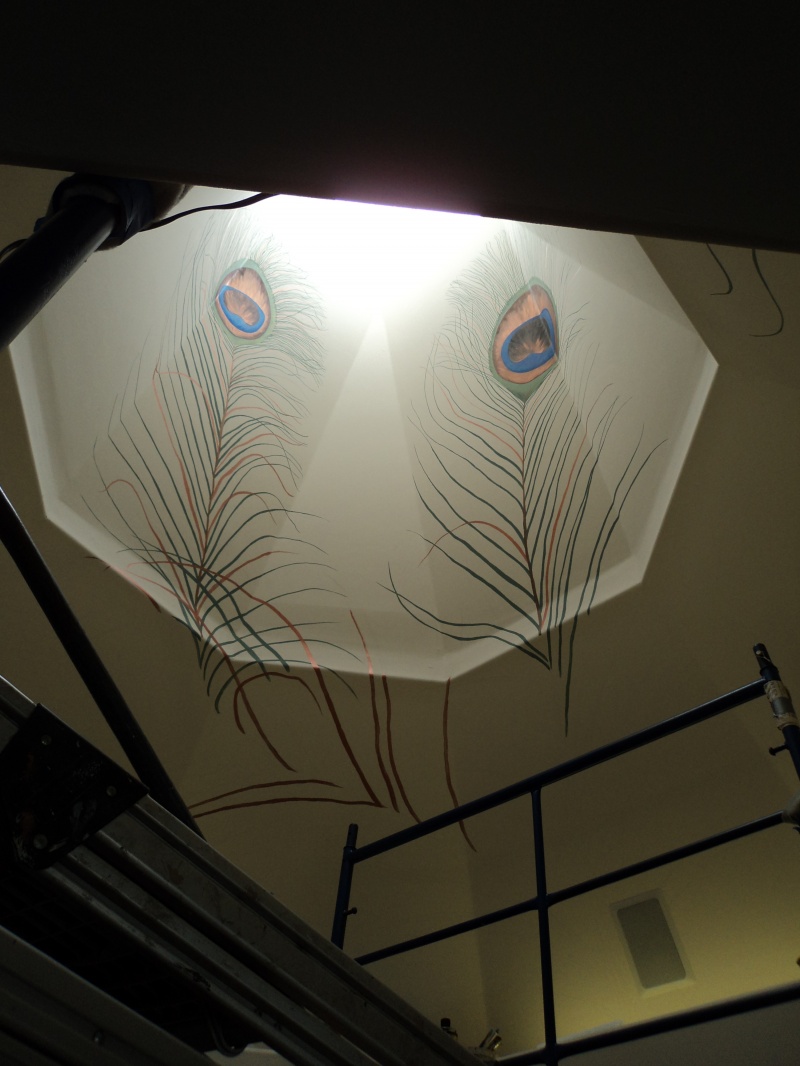
I have to say a BIG Thank You to my client – if it wasn’t for her idea, I wouldn’t have had the opportunity to paint this incredible project.  Recently, Ruth Masters was referred to me for a project that she had been wanting to do for many years – she just hadn’t figured out exactly what she wanted in this space.  One day, surfing on the web – she ran across a project that was featured with a painting of Peacock feathers on the ceiling.  Ruth knew at that moment it was exactly what she wanted – now to find the artist to execute the idea.

I met with Ruth and she provided me with several pictures from the web site – we talked about colors for the feathers and then it was up to me to see if it was a possible project.  The area she wanted them painted in was a very high octagon sky light – approximately 22′ to the top!

I called a fellow artist friend of mine, Penny Ray to assist with this project – she meet me at the clients house to see if we could get a scaffold rig into her kitchen, over the island and up high enough to accomplish the work…….with very careful measuring – we decided we could do it!

Even though we did all that careful measuring – the day we installed the scaffold rig – we discovered we were off just a little……..but, we made it work!  Our first day was installing the rig and then using an overhead projector to project the images that had been drawn onto the walls………..now this was an area that started at 10′ and went up another 12′ or so……..it took the entire day to transfer all the drawings.  We carefully placed each peacock feather to create a wonderful composition in the octagon area.

Day two and three was a lot of painting and moving the levels of the scaffold rig to accomplish the many heights we had to work at.  Day four – we needed to completely remove one of the levels of the scaffold rig and try to finish all the painting.  Penny and I are a pretty good team – only one cut finger, a few bruises and sore muscles – we accomplished our deadline.  The entire project took four days including installing and tear-down of the scaffold rig……..we painted a lot of hours each day!  Most of the painting was accomplished with Americana Acrylic paints – regular and metallics – I also used Faux Effects newest metallics – SuperHide Copper (love this product).

Many thanks again to Ruth – thanks for providing me with such a fun project!!!  Looking forward to the next one…….I think I will be painting Parrots and Palm Trees!!!