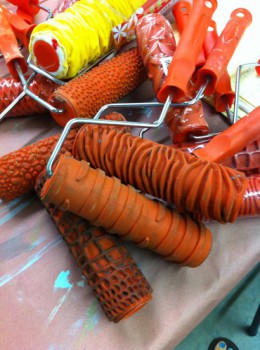
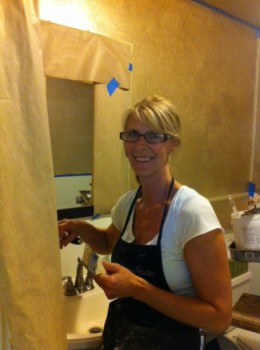
The love and popularity of Decorative Rollers continues to grow as more people discover this wonderful tool. So, I’m here once again to share more of my Tips & Tricks for using these rollers and making your projects easy and fun! In my collection of Decorative Art Rollers I have 30 patterns to choose from, so this is your first task – trying to figure out which roller you want to play with…..For some people this is one of the hardest things, deciding which pattern to buy!!! But once you have that roller in hand, you need to know how to use it.
I have created several YouTube videos which can be found on my channel – Artistic Painting Studio YouTube – watch all three videos and see how easy it is to use these rollers – each video shows a little different technique.
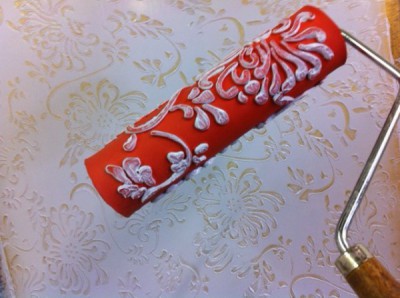
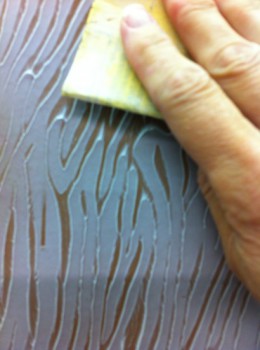
The easiest technique for using the Rollers is a “negative” technique. Let me explain what I mean – these rollers are designed to make an “impression” into some wet material. Like in the videos – I demonstrate applying a texture medium or glaze for you to roll into/through – this gives you a negative impression of the pattern.
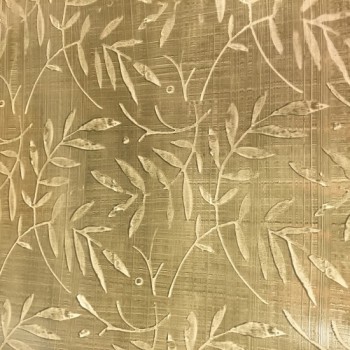
Glaze is the easiest medium to work with when you are getting started – this medium stays wet for a long time and will allow you to apply the glaze and have plenty of time to roll through the wet glaze. I like to let the glaze to “set-up” for a few minutes after applying to the surface – otherwise you might slide in the glaze. Also, make sure that your roller head is spinning freely on the handle – if not “lube” the bar with a little Pam Cooking Spray – this works great!
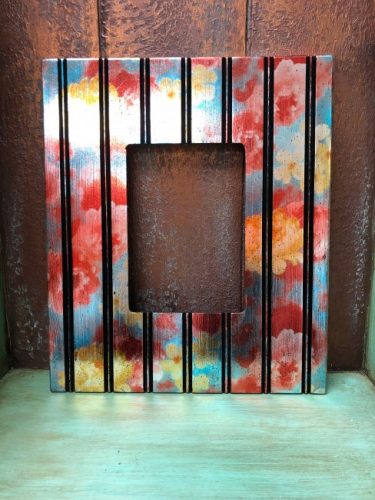
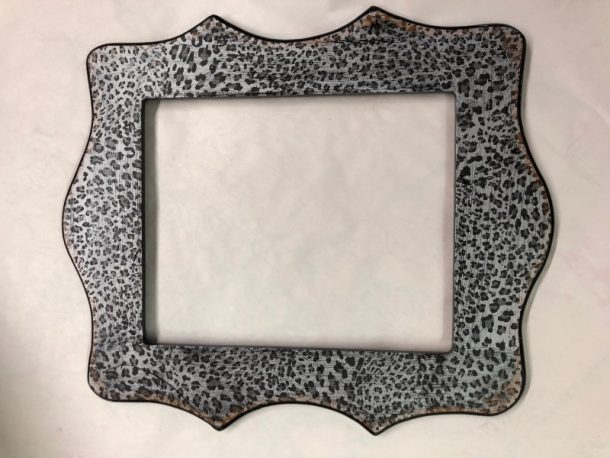
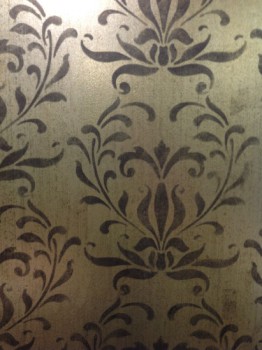
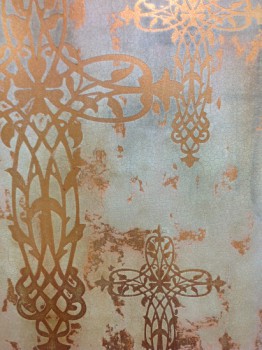
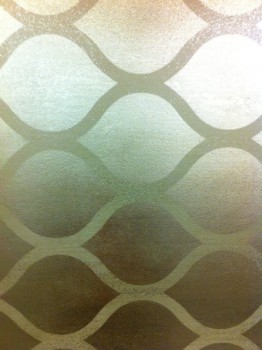
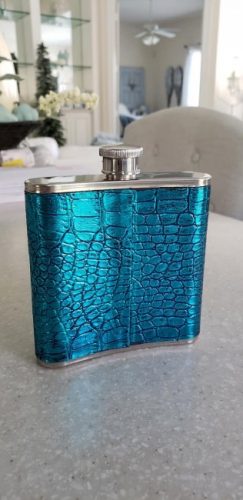
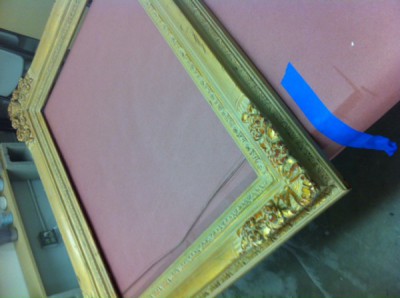
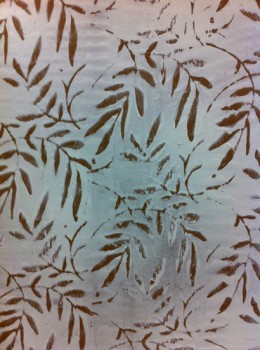
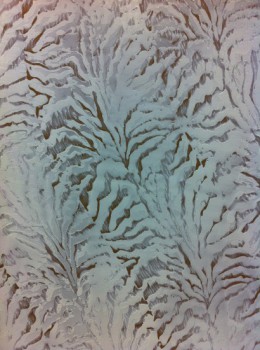
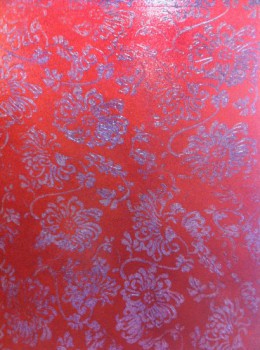
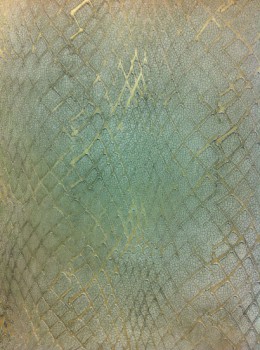
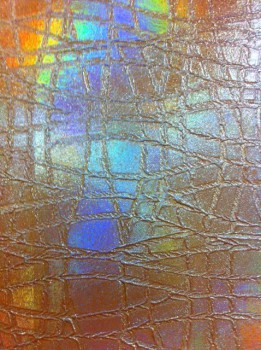
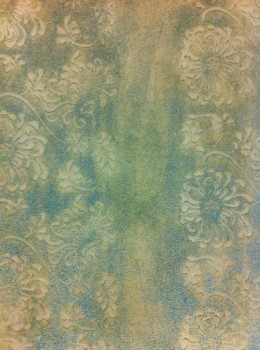
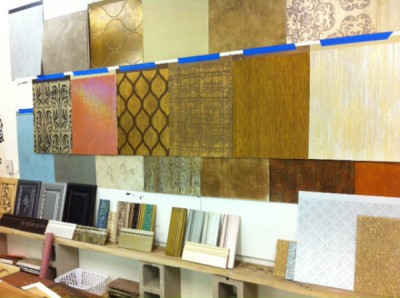
Here are a few projects that have been created with the rollers by customers and students – the medium that has been rolled through is a colored Glaze.
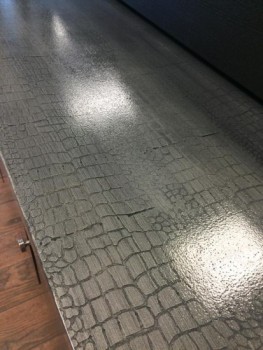
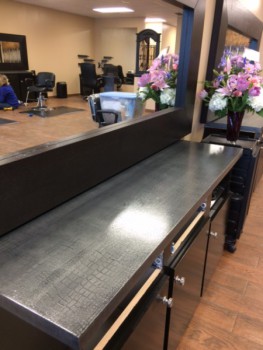
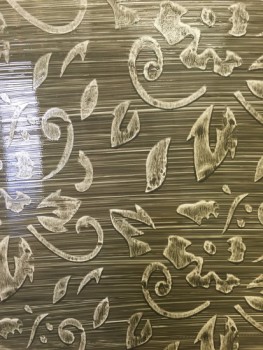
My favorite medium to roll through is my Texture Medium by ArtsSyVille Embellishments – I have worked hard on creating a texture medium that is easy to roll through! One thing that is really important when rolling through a applied texture, is to keep the application “thin” – I always say to my students “Thin Wins”!!! If you have applied the texture to thick on the surface it just clogs up the roller and you will have to wash it more often……and that’s not any fun!
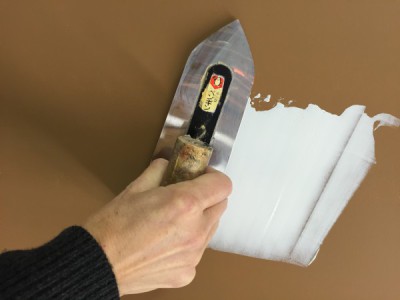
As shown in the videos – I like to “trowel” on my products – but, the trowel has become one with my hand! I know I make it look so easy and it is for me……but that took some work – I have been using a trowel for at least 25 years – so it should be easy for me!!! If you decide to try this method of application I would like to share some helpful information – like the trowel that I use. This is a Japanese Trowel (you will find it on this page) and it is very light, slightly flexible and the easiest trowel to work with – great for beginners and experts – I LOVE MY TROWELS!!! Best to get a practice board and some material to play with – this can be joint compound (which is very inexpensive to play around with) and play with the application of troweling onto the surface. I say “less is best” with how much material you put on your trowel. Don’t load a huge glop of product and think you will control it – you can scoop out of the bucket or pick it up from a “hawk”. If you are right handed – you will load the right side of the trowel. (If left handed – load the left side). Make sure to watch the videos – they will show you how I load the trowel and apply the material!!!
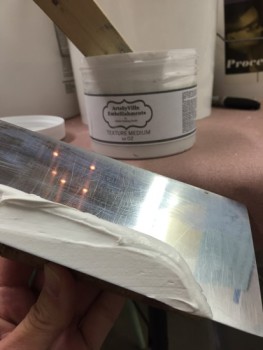
Now it’s time to apply this Texture Medium to the surface – the angel of the trowel is important. When applying the texture to the surface you want a low angel, so that the material will transfer to the surface area – if it’s too thick in some places and you want to spread it out thinner – increase the angel of the trowel and this will spread and/or thin the material. Practice, practice, practice – it get’s easier each time you do it. Keep watching my videos – I show how to trowel the material onto the surface.
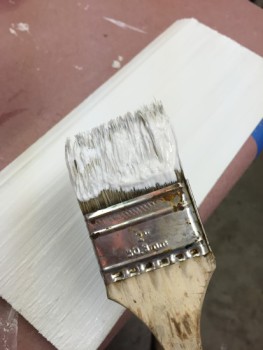
If you have total failure or hate the trowel (hate is such a strong word) – you can always brush the texture medium onto the surface – if you have doing a small project like drawer fronts – this will be an easy application. Just use a “chip” brush and apply the Texture Medium as thin as possible – you will have some brush strokes in the texture, but that is just added interest!
So now that you have the texture medium onto the surface – we need to get rolling while the medium is wet. Always check the roller to make sure it is spinning well – this will prevent you from sliding in the material, instead of rolling. Just roll through the wet material – it is as easy as that. If you’re not happy with the print – smooth it out and roll again. Really, really – it’s that easy!
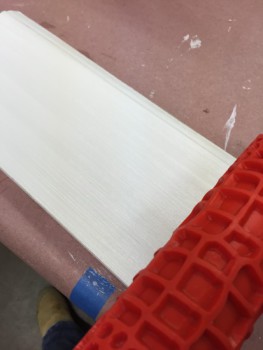
You will most likely have some “peaks” that are created from the roller pulling up the material – the thinner the application, the less peaks you will have. Just wait for the material to completely dry and then sand down as much as you want – I basically do a light sanding to eliminate the rough/high areas.
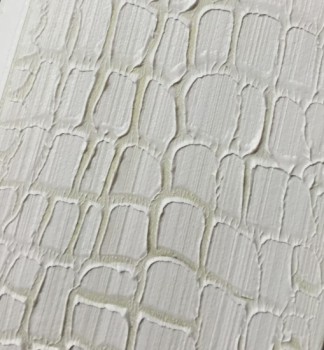
Now it’s time to finish the project – you can paint the texture, glaze the texture or even apply a wax. There are so many options to create with these rollers, just let your imagination run a little wild! You can create on Furniture – Cabinetry – Walls – Fabric – Canvas – the options are endless!
Here are some wonderful examples that have been created by customers and students – These are some AWESOME projects!!!
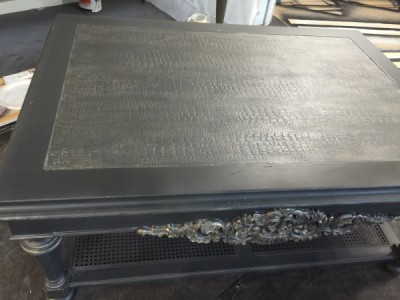
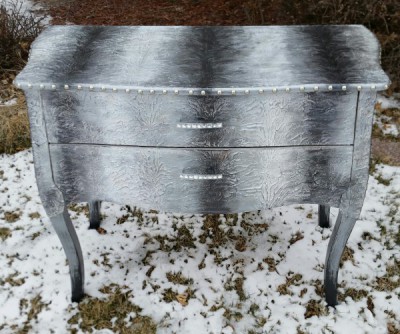
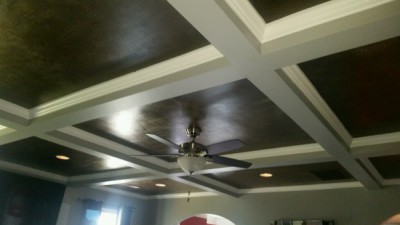
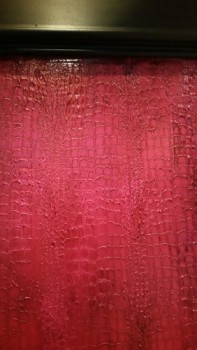
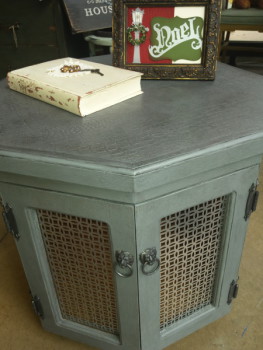


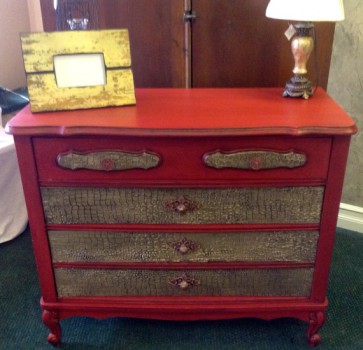
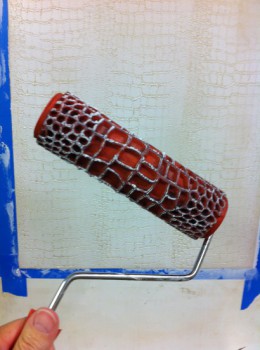
As you can see the most popular roller is the Crocodile pattern or at least this is the one everyone has sent me pictures of projects (also – if I didn’t tag you in a project, please let me know – I had not tagged all the photos and wasn’t sure whom some of them came from – SORRY)!!!
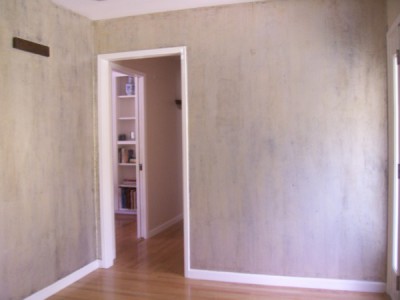
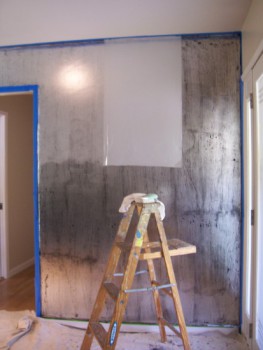
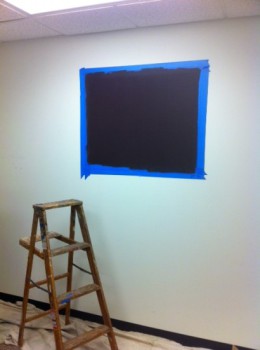
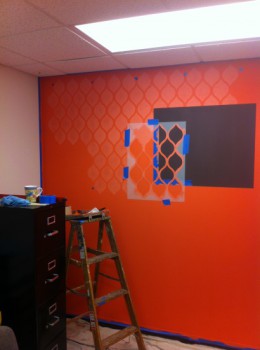
Now – if you are planning to attack a wall – there is more information I would like to share (most of this has been covered in my last Blog about using the rollers – Pattern Rollers – Another Obession). When going for a larger project, it is nice to have several rollers for the job. One to keep as is and one to cut in half and maybe one to cut up and make a stamp with!!! If you have one large feature wall – no problem to have one roller. But if you project is a room, there will be different wall areas to deal with, like the small narrow space next to a door jam. This is when several rollers will come in handy – there is also a tool that you will find in the “clay” area of a hobby store called the “Wipe-out Tool” – it’s rubber tipped on both ends and we use it to “carve” the pattern if the roller can’t get into those areas – like getting all the way to the ceiling line.

I also like have a 5 gallon bucket with water to throw the dirty rollers into and for the easiest clean up – use your hose and a 5 gallon bucket outside, the pressure gets all the product out of the crevices or just use a scrub brush.
I sure hope that you will give the Decorative Art Rollers a try and please let me know if there is any additional information that you need before you getting ROLLING!!!
Check out my YouTube Channel and watch all the different video’s on working with the Decorative Rollers – make sure to subscribe to my Channel!!!
Blessings for a wonderful rolling day
Jennifer R Ferguson


