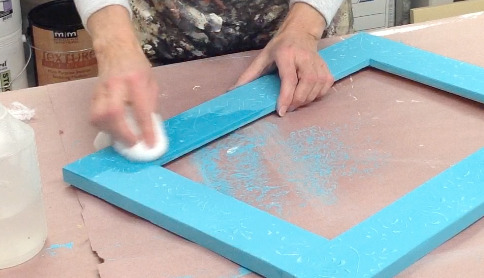
There are many glazes on the market these days, but not all are created equal. Some have way more open-time (which is the time you have to work with the glaze before it dries) than others and creates what I like to call a “happy glazing day”!!!
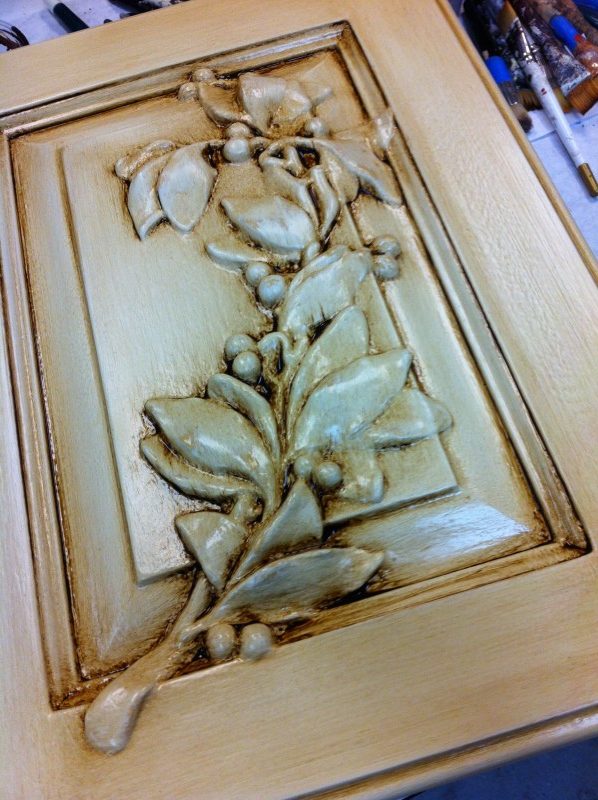
I’m going to go into some depth about the Modern Masters Glazes and the preparation to make a “happy glazing day” for you!!!

First, it’s not all about the glazes (but they really do make a big difference), your surface prep is also very important. To allow the glazes to work at their maximum capability, you need to have a “sealed” surface to work on. This means that the paint you want to apply the glaze over needs to be at least a eggshell sheen or higher (eggshell is a sheen of paint – not a color). So I like to work over paints that are Eggshell and Satin in sheen. It is also helpful if the paint you are working over has had some time to dry/cure. This means that the longer the paint dries the more time it’s had to cure and get hard, which then will not soften as you apply a wet glaze over the top. The best case scenario is to paint the surface and allow it to totally cure (which could take up to 30 days), not that this isn’t realistic in the painting world……who has time to allow paint to dry for 30 days! LOL! At least give it some time to dry, maybe at least a day or two and your glazing will work much better.
So now you have a painted surface (Eggshell or Satin finish sheen) and you have allowed it to dry for a day or so. We can now go onto the glazes and how they work.
Let’s talk about the Modern Masters Furniture & Cabinetry Glaze first. This glaze is thinner, reminds me of an oil glaze but it’s not oil. It’s a fabulous water-based glaze! You can mix this glaze with Colorants (like Universal Tints – Modern Masters Colorants – etc) or just about any paint. Which provides you with an unlimited amount of colors you can create to glaze with. If I’m mixing up a color with my Modern Masters Colorants – my basic recipe is 1 cup of Glaze to 3 tablespoons of colorant. I love the depth that this value gives, but please feel free to adjust based on your needs. If you need something more sheer, try 2 tablespoons of colorant. If you need it more rich and deeper, then you can add more colorant…..but do remember that the more colorant you add the faster the glaze can dry. Now, most of the time when doing furniture or cabinetry the surface space is smaller so usually, this is not an issue (just food for thought)!

Modern Master Furniture & Cabinetry Glaze
Mixing the Furniture & Cabinetry Glaze with Paint:
Now you can pick just about any paint or color and mix yourself up a batch of glaze (always test a small amount to make sure the paint is blending together well and that it is a water based paint). My basic recipe for this glaze is 1 cup of glaze to 1/4 cup of paint. You can also mix within the range of 5 parts glaze to 1 part paint and as high as 3 parts glaze to 1 part paint. Now remember again, the more paint the faster it will dry.

If you haven’t done much glazing before, I would recommend a test sample board to get used to the mixes you have created and your techniques.
Now, let’s move onto the Modern Masters Wall Glaze!! This product is much thicker and was designed to be applied vertically for use on walls. It won’t sag or drip and holds the tooling that you create well. This glaze can also be mixed the same as listed above for the Furniture & Cabinetry Glaze, but you do want to try and keep your mixtures on the lower side of adding color, which could create an issue on the larger surface area that you will be dealing with.

“Open-time” or “Working Time” are words that we use to describe how much time you have to work/manipulate the glazes before they will start to set up and you don’t want to disturb them anymore. This is a big deal as your surface area gets larger and Modern Masters Glazes have some of the best working time there is. If you are on a well-sealed surface, you should have about 20-30 minutes of Open-Time – which is great!
I hope that you will check our these fabulous glazes and give them a try! This will make your glazing projects much easier and give you amazing results!
