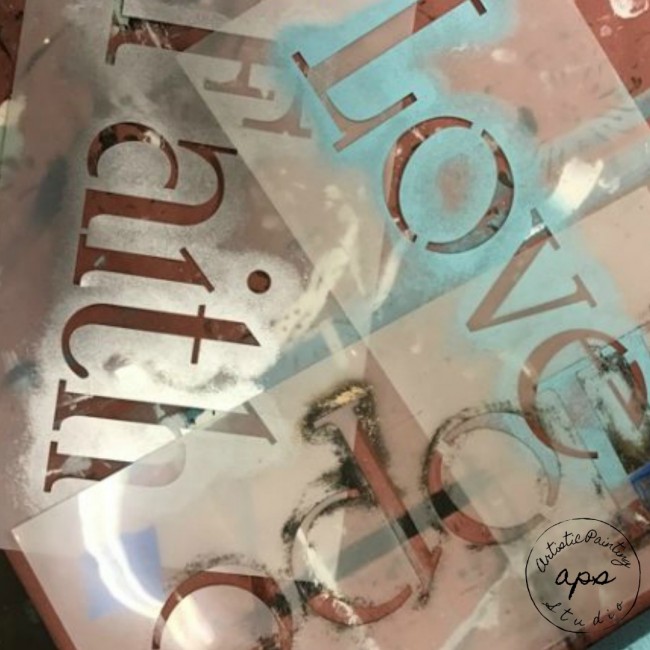
The Art of Stenciling;
Stenciling is a remarkably easy painting technique and here are some basic instructions for the art form.
Positioning the Stencil …..
Position your stencil, locating its open design elements exactly where you’d like the painted design to appear. Then tape the outer edges of the stencil to the project with Blue painters tape.
Loading the Stencil Brush……
Pour a little paint onto your palette (painters palette or plastic plate), add one to two drops of an extender, and use the handle end of your stencil brush to mix the extender into the paint. Next, holding your stencil brush straight up, pick up a small amount of paint with the tips of the brush bristles. Then work the paint into the bristles swirling them in a circular motion on a clean section of the palette. One trick to successful stenciling is keeping a “dry” brush – this is accomplished by removing the excess paint from the bristles. Hold brush upright and with a firm, circular motion, rub the bristles onto a clean paper towel. If the brush is too wet, the paint will bleed under the stencil edges. I suggest practicing on paper before attempting your project.
Applying the Paint…….
For a smooth stenciled surface, “swirling” is the best technique to use. Hold your stencil brush perpendicular to the surface and apply the paint by moving the bristle ends in tiny circular motion. To add texture and depth to a stenciled design, hold the brush perpendicular to the surface, but instead of swirling the bristles, apply the paint by dabbing the brush straight up and down; a process known as “stippling” or “pouncing”. Whether you’re swirling or stippling, always start with a light touch and increase pressure as needed to transfer the paint to the surface.
To create shading within each stenciled design area, first create sharp, crisp edges by applying paint lightly all the way around the outer edges of the design opening. As you work, blend the paint into the inner design area but apply less pressure to the brush and less paint. By varying the pressure you apply to your brush and the amount of time you spend stenciling a given area, you can achieve a wide range of values with a single color.
For added contrast within a design, use more than one color. Let each color dry before applying the next, use a different brush for each color, and leave the stencil in place until you’ve applied all the colors. (Once you’ve removed the stencil, it’s very difficult to replace it in the exact same position.) To keep the paint-dampened bristles of your brushes from drying out as you work on a project, place the brushes in a small plastic bag with a dampened paper-towel, until you need to use it again.
Here’s one important tip: When you’re stenciling on top of a dark base-coat color, stencil the entire design in white paint first. Then apply your colors over the white. This technique is referred to as “Whiting-out” and helps to allow your colors to “pop” off the dark surface.
Stenciling of Fabric……
To hold fabric flat as you stencil it, apply repositionable spray adhesive to a piece of smooth cardboard. (The cardboard doesn’t have to be as large as your fabric piece – just reposition the fabric as needed.) Gently press the fabric onto the adhesive-coated board, and tape your stencil in place.
Mix one part fabric painting medium with two parts acrylic paint on your palette. Using stencil brushes, stencil the designs as instructed in the basic stenciling directions above. Make sure that the stencil is positioned over the area of fabric that is attached to the cardboard – this will keep the fabric from moving or stretching while you are trying to stencil. After the paint has dried completely, heat-set the paint by placing a press cloth on top of the fabric and pressing the cloth with a warm iron.
Cleaning and Storing Stencils and Brushes……….
After using a stencil, clean it as soon as possible. The longer the paint stays on the stencil, the harder it will be to remove. One of the best products I have found in years is Dawn Power Dissolver!! This product works better than anything else I have ever used. If the paint has been there for a while or many many layers, spray with Dawn and let it soak for a while before trying to clean it off – then once it’s clean, do a final rinse with clean water and allow to dry. Be careful when cleaning – this is when you can damage your stencil.
To clean your stencil brushes, scrub the brush over a brush scrubber under running water to remove as much paint as possible and then use Masters Brush Cleaner to clean out the remainder of the paint……lay them flat to dry.

Have fun with Stenciling and some of the best advice I can give, is to practice, practice, practice!!!


