APS Foil Adhesive was designed to provide you with the best adhesion for foil transfers and my foil collection has fabulous release! What a nice combination to work with and makes foiling projects enjoyable! I know that my foil Obsession is due to creating my own Foil Adhesive, which has made the transfer of foils amazingly easy.

Here are a few tips and tricks for using the APS Foil Adhesive (APSFA) and installing/transferring foils: First, it’s not a bad idea to stir up the material if you see any separation in the bucket…..I have yet to see this happen! You will also get the best transfer of foils when applying the APSFA over a sealed surface – if your surface is porous/adsorbent, the APSFA will soak in and not provide as great of a transfer (you could also try a second layer of APSFA for a better transfer – this is only recommended on a porous surface) – so, keep in mind the substrate that you are working on. My favorite roller for applying the APSFA is the Wooster low-nap roller and just ONE coat of the APSFA will do you! (my APSFA should save you time and money – only one coat needed for a great transfer)! Pour the APSFA into a paint tray and work it into the roller and then apply a thin, even coat of the APSFA to the surface. Allow the APSFA to dry to a firm tack – this will be approximately 30 to 45 minutes – best to wait longer than try to apply too soon! The APSFA will never dry beyond a firm tack – so you have from the time it tacks up until whenever you get back to the project to transfer the foil (the surface will be tacky – I don’t recommend days – anything can stick to this surface)! I love working my days, if possible, that the last thing I do is roll up the APSFA and allow it to sit overnight – come back the next morning and install/transfer the foil!!!
Now that your APSFA is applied to the surface and dried to a firm tack – it’s time to transfer the foil! Not all foils are manufactured the same and they release different – some better than others. My collection has a very easy release and works wonderfully with my APSFA. So, let’s talk about foils – what they are and how they work. Basically, you have a very thin film of color that is applied to a clear plastic backing material, that needs something stick enough (APSFA) to grab the color and transfer it to another surface.
There can also be a learning curve or two with transferring foils……You knew it couldn’t be that easy!!! One of my best tips is to make sure you are trying to transfer the correct side of the foil – I tell everyone to make sure the “pretty” side is facing you and you sure don’t want to the get the wrong side stuck onto the APSFA – this can actually de-activate the APSFA. Because the APSFA is so sticky – if the wrong side gets on it, there is nothing to pull off and it will stick really well…….when you finally pull it off, it will take some of the adhesive off and you will not get a good transfer in that area. You can always repair this area – just apply another layer of the APSFA and again, allow it to tack up.

I do recommend having a helper when installing/transferring foils – so recruit a friend for the project!!! It’s nice to have someone hold onto the other end of the foil and keep it away from the surface until you are ready to smooth it onto the surface area. So, have one person at the top of the wall – starting at the top left corner and trying to keep it straight, apply the foil to the surface by rubbing it with your hand or a terry rag works well. Continue down the wall, smoothing out the piece as you go down towards the bottom of the wall. If the walls are tall or you are working alone – cut sections in manageable lengths, i.e. 10-foot wall – cut sections 3′, 4′, 5′, 6′ and 7′ long. This way you can handle the length of the foil and have the joint lines staggered at different heights – you don’t want to end up with a horizontal line going through the wall at the same height.
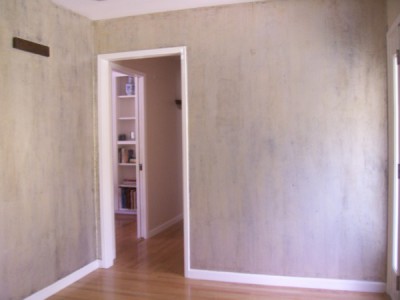
This picture shows the first layer of foil installed – I did this alone and just cut the pieces in manageable lengths to handle by myself. Another thing you need to know about transferring the foils is how you scrub them. When I’m installing a sheet – I use a terry rag to smooth it onto the surface, trying not to get too many air bubbles. But, transferring the foil will take a little more pressure then just lightly rubbing it. Now, another one of those learning curves is that the way you scrub the foil will also transfer in the pattern – i.e., if you use a circular motion, you will see this in the foil transfer. I find it best to use a scrub brush and keep the motion of scrubbing the surface vertical. Also, if you get any air bubbles in the foil, lift up one side to release the air bubbles and re-smooth out that area and scrub again.
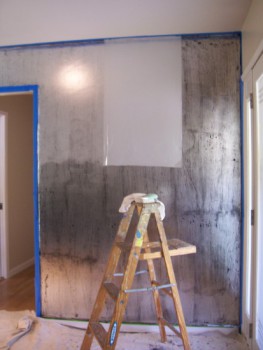
I like to stress the fact – that nothing is perfect about transferring foils – so embrace the imperfections – I refer to them as “happy accidents” or “features”!!! As you apply your sections – try not to scrub all the way to the edge of the foil and leave a little salvage edge – you’re better off with imperfect edges than straight lines. Overlap the next section of foil, so that you can blend into the irregular lines you create. I also recommend that you protect your foil finishes – you can glaze over them, clear coat over them – you just allow them to be part of the finish. Make sure to create a sample board 🙂
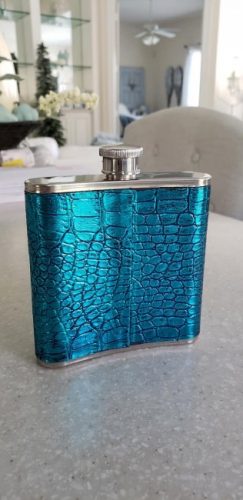
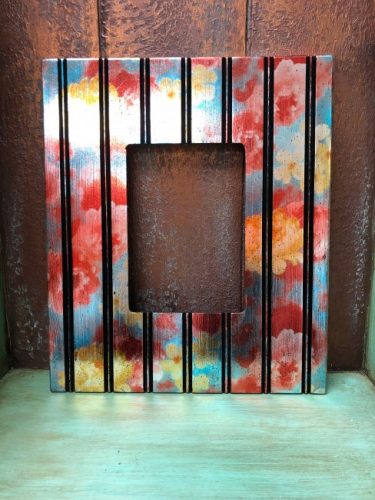
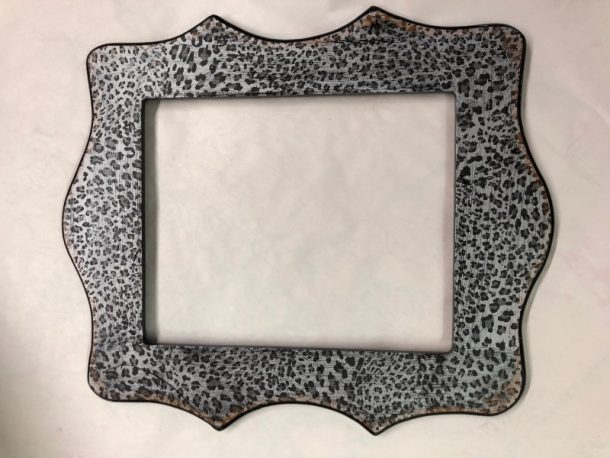
Here a few foil finishes that I have been creating – love working with all my foils and incorporating them into beautiful finishes 🙂
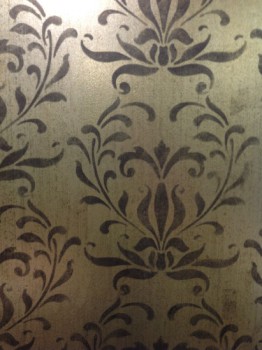
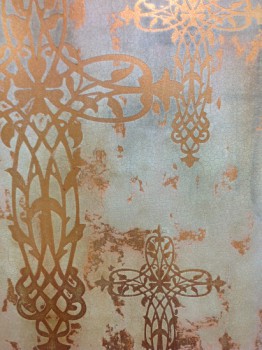
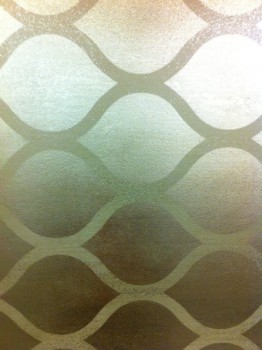
I really hope that this information helps with your foiling projects – my best advice is to practice on some sample boards and get the hang of it…..it really is an easy process and so much fun! There isn’t anything else that shines like foils other than Leaf! But foils are cheaper and faster than leafing…….
Check out my web site for the complete collection of foils – over 75 different colors, patterns, and holograms. You can order a sample pack for $10 – which includes 40 different foils in a 4″ square – also all foils are available for purchase by the foot and several different size rolls. APS Foil Adhesive is available in pints, quarts, and gallons to accommodate any size project. You will find everything at www.artisticpaintingstudio.com – Also please feel free to call with any questions – you can reach the studio at 714-386-3243 or email to Jennifer@artisticpaintingstudio.com
Happy Foiling…..:)

