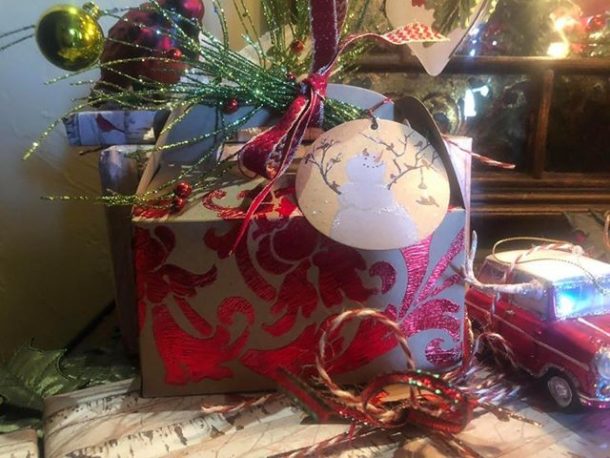
Painting & Foiling Christmas Blocks

My first little project is creating Christmas blocks!!
I found these little blocks on Amazon. You can find them, HERE! I am thinking they will be perfect to scatter around the table setting for Christmas dinner or just scattering around in groups around the house!
How to make them:
Step 1 – Painting:
The first step will be painting the blocks. In the video, I am using Debbie’s Design Diary DIY Paint, a chalky based paint, in the color Carnival Red. This is the perfect Christmas red!
Painting blocks is a little tricky cause you have to hold them and paint. So I started out by painting each block on four sides while holding the top and bottom and leaving those sides unpainted for now.
After painting each block on the four sides, I let them dry for about 30 minutes. Once dry, I went ahead and painted the two unpainted sides.
Depending on the paint you use, you may need to go back over and paint on a second coat so that you have 100 percent coverage.
Step 2 – Design:
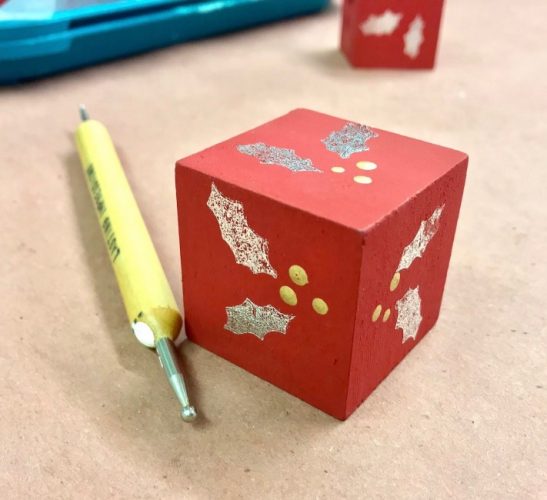
Deciding what you are going to put on the blocks will be the second step. Because the blocks I bought are pretty small, I decided to use the Holly Berries stencil from my stencil collection. If you would like to see all of the stencils I have for sale check out my website, HERE.
While most of the time stencils are used to be painted on, this time I decided to use them to add Foil Adhesive so I could come back and foil on the Holly Berries leaves!
I decided to use Metallic Silver foil so that it would pop nicely against the red paint. And after adding the foil, I would come back and emboss the berries with Metallic Gold paint from Modern Masters.
Step 3 – Foil Adhesive:
Now it’s time to apply the Foil Adhesive. For this, I decided to use a dry brush and a pouncing technique.
To apply the adhesive, you will want to start by swirling a little Foil Adhesive onto your brush. Then you will want to dab your brush a couple of times on a paper towel to create a dry brush.
Now you can pounce with your brush over the stencil openings. This is a great technique to use because it applies the adhesive evenly and it won’t leak under the stencil.
You will want to add two quick coats so that there is enough adhesive to get a good transfer!
I found it best to do three sides on each block at a time.
Now you need to let the adhesive dry and tack up for at a minimum of 10-15 minutes. The longer you wait for the better!
Step 4 – Applying Foil:
Let’s get to foiling! First, you will want to cut your foil into some smaller pieces so they are easier to manage. Then you will place the foil onto your block.
I started by trying to rub a rag and my finger over the foil to see how well it would transfer but it wasn’t quite enough. So I used my handy-dandy scrubbing brush! And it helped to get a full transfer (you could also try a toothbrush).
Along with the full transfer on the holly leaves, it added little speckles on the block. You can either leave those speckles, as I did, or you can rub them off using a rag.
Step 5 – Adding Berries:
Instead of using the stencil to add the berries, I decided to use an embossing tool. This tool is great for adding a dimension to a project!
The color I used on the berries is Metallic Gold from Modern Masters. I dipped my embossing tool into a little of the paint from the lid and then dabbed on three little berries which create raised dots.
You will probably want to do this step after you have transferred foils to all sides of your blocks because the paint will take longest to dry.
Are you a visual learner?? Check out the entire step-by-step video below!
Creating an Easy Weathered Wood Finish

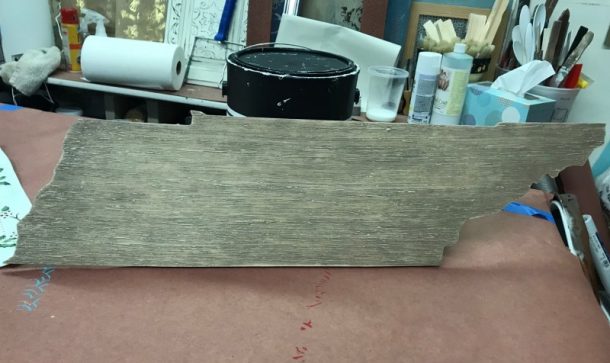
Creating a super special Christmas present for my daughter, Ashley! She lived in Nashville, Tennessee for six years and just moved back to California, so I am going to paint this Tennessee wood cutout for her.
Step 1 – Texture Medium:
First, we are going to get out some Texture Medium. You will want to put some on the surface of the wood and use your mini trowel to spread it 100% on the entire surface. You can always go back and clean the edges with your finger or sand them down later. It doesn’t have to be perfect!
For this project, we are going to use the Corduroy Tool, so you can leave the Texture Medium a little thicker. It can be closer to an 1/8 of an inch.
Step 2 – Corduroy Tool:
Now let’s grab our Corduroy Tool! This tool creates a beautiful broker Stria, which will help us create our Weathered Wood finish. You will take your Corduroy Tool and go back and forth across the Texture Medium to create a wood finish.
You will want to stay in straight lines with your Corduroy tool to create this look. If too much Texture Medium gets on your Corduroy Tool, you can pounce it back on your wood and then go back and forth to create the wood finish.
Step 3 – Sanding:
Once your Texture Medium is dry, you will want to sand the edges. Dry time will take about an hour or so. You will want to smooth out the texture, so you don’t have any “highs”.
Step 4 – Glazing:
We are going to create a custom glaze color. I am going to use Golden Paintworks Glazing Medium and Modern Masters colorants. When you are starting to create a custom glaze color you will want to start with a smaller amount of glaze, about a 1/4 cup. This way you are not wasting any product! Add a little color at a time to reach the color you want. I usually use 1 cup of glaze to 3 tbs of colorant.
I am going to start with a darker umber and then add white to lighten it up.
Step 5 – Cheesecloth:
Grab a chip brush of your choice. If you need to invest in one, you can find one HERE. Dip your brush in a little bit of glaze and brush onto your piece of wood. A little goes a long way. Once your glaze is on, you will have a little “working time”. You will grab some cheesecloth and make a “pad” with your cheesecloth. Take your cheesecloth, and rub in the same direction as the Stria to make your finish as light or dark as you want.
Step 6 – Top Coat:
I am not going to top coat this project because it is not going to be something that is touched often. If it was something that was going to be touched more often I would definitely want to top coat the project.
Are you a visual learner?? Check out the entire step-by-step video below!
**This post contains affiliate links.


